Messkabel
Do you need help?
Telephone support under:
+49(821)24924-1000
email:
webshop-osi@rosenberger.com
Filter
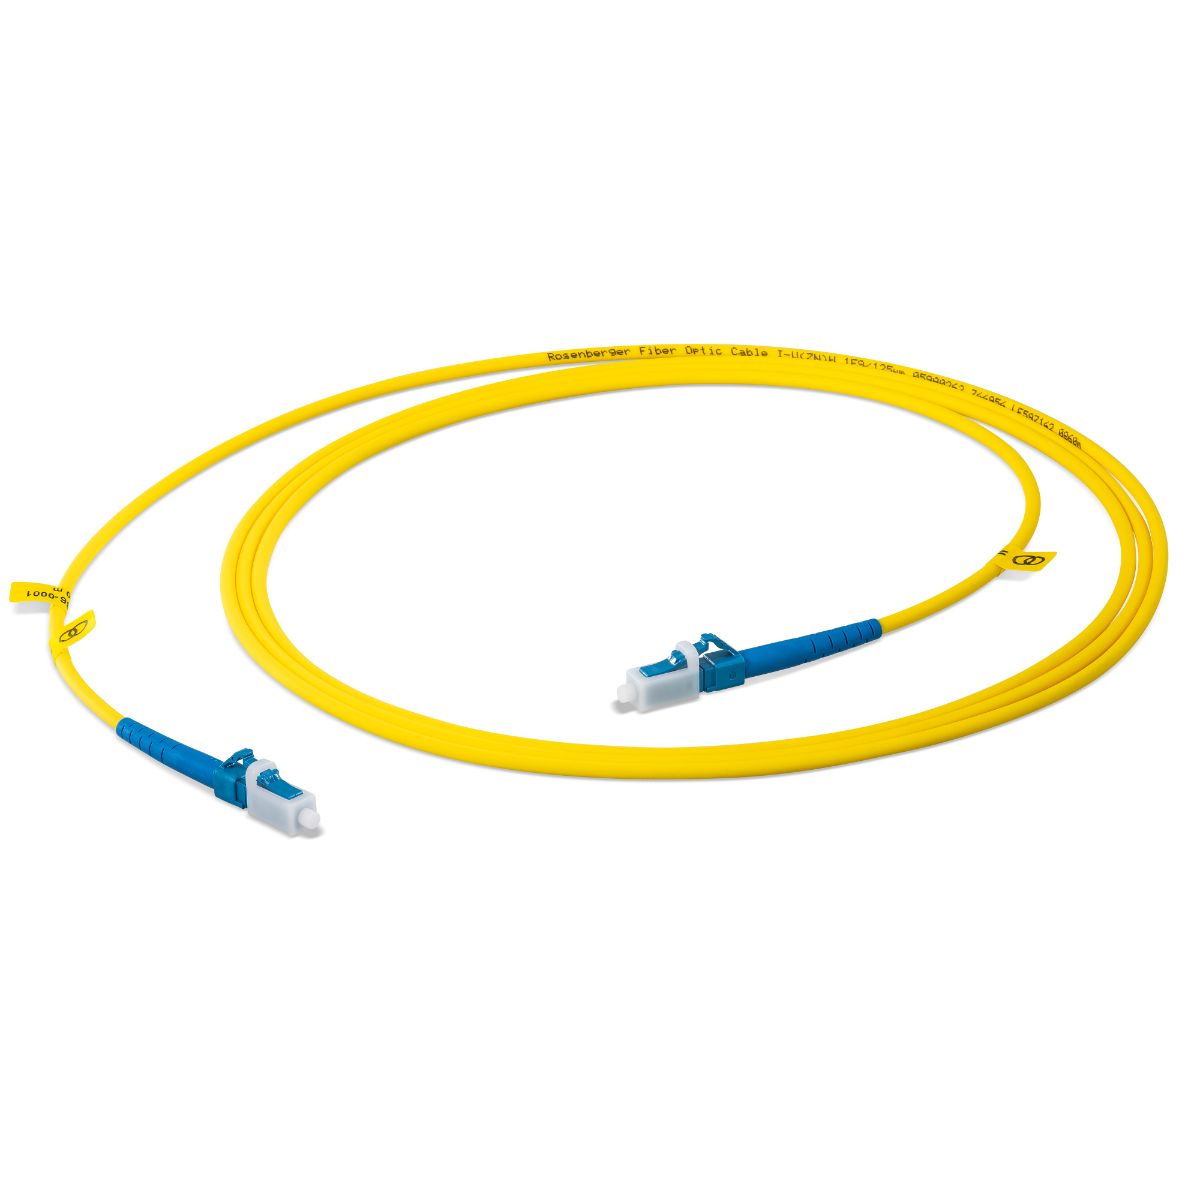
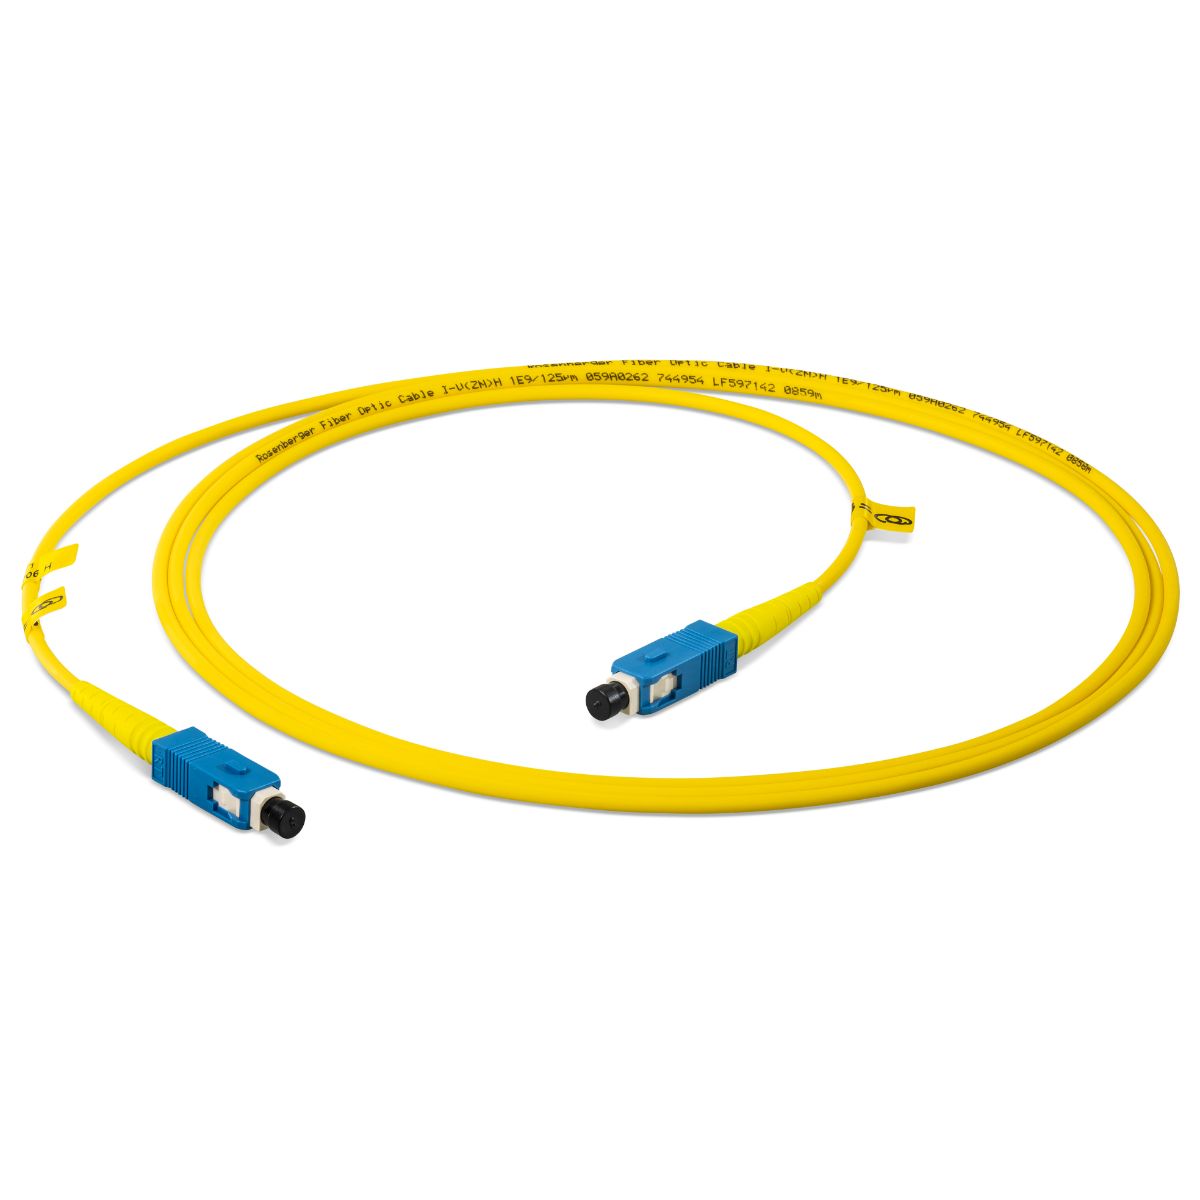
Fiber Optic Measurement CablesApplicationsPatch cables suitable for measurement applications in the laboratory or in the field.PropertiesReliable measurements with excellent repeatability thanks to measurement cables with precisely specified connectors.Measurement cable connectors that conform to particularly low tolerances.Connectors with wear-resistant ceramic ferrules.Singlemode: The limit value for the eccentricity of the fiber core is 0.3 µm and the maximum permitted value for Apex offset is 30 µm.Scope of delivery and packaging:With individually documented report. To enable us to guarantee the outstandingly low tolerances of our measurement cables, these pass through several exceptionally demanding test procedures. The eccentricity measurement device is used to check whether the fiber core is located exactly in the center of the ferrule. The quality requirements permit a maximum eccentricity of 0.3 µm. The interferometer is used to measure the geometry of the ferrule endface, which is then displayed using a range of imaging methods. Here again, only the tiniest tolerances are permitted.
Fiber Optic Measurement CablesApplicationsPatch cables suitable for measurement applications in the laboratory or in the field.PropertiesReliable measurements with excellent repeatability thanks to measurement cables with precisely specified connectors.Measurement cable connectors that conform to particularly low tolerances.Connectors with wear-resistant ceramic ferrules.Singlemode: The limit value for the eccentricity of the fiber core is 0.3 µm and the maximum permitted value for Apex offset is 30 µm.Scope of delivery and packaging:With individually documented report. To enable us to guarantee the outstandingly low tolerances of our measurement cables, these pass through several exceptionally demanding test procedures. The eccentricity measurement device is used to check whether the fiber core is located exactly in the center of the ferrule. The quality requirements permit a maximum eccentricity of 0.3 µm. The interferometer is used to measure the geometry of the ferrule endface, which is then displayed using a range of imaging methods. Here again, only the tiniest tolerances are permitted.


